As a homeowner, you are well aware of the importance of ongoing home maintenance. We often discuss the importance of Log Home care. Whether you complete a home inspection annually or before the beginning of each season, there is one consideration unique to log homes, your homes chinking.
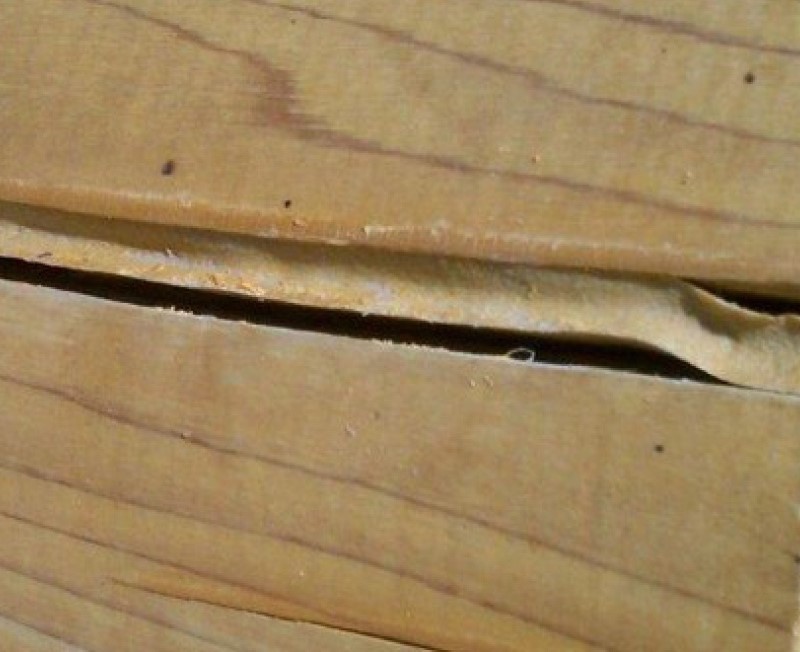
Complete your visual home inspection first, looking for signs of Chinking breakdown. These breakdown indicators include cracks, chips, gaps, holes, and separation from the logs. In more severe cases you may also notice drafts between logs, and pest or rodent nests. These signs are pretty telling that your chinking needs repairing.
Once identified, decide if it’s a small repair job you want to tackle on your own, or in the case where there is significant decay, or when moving from Mortar Chinking to Synthetic Chinking it’s time to call in a professional. Either way, the sooner the issue is addressed the more time and money you will save in the long term.
DIY Chinking Repair:
-
Remove Failing Chinking
Start the repair process by removing all loose pieces of chinking, using a scraper or oscillating tool, and cleaning and sanding the areas where you’ve removed old chinking. If not all pieces of the old product separate from the joint easily, leave the old chinking in place and use as many backing rods as necessary to create clean surfaces for the replacement product. Whether you apply new chinking over an existing product or on a relatively fresh surface, you’ll need to be sure that the joint is as clean as possible for optimal adhesion.
-
Select New Chinking
Once you’ve removed all traces of the old chinking, it’s time to apply fresh material. In today’s log home you will more often see synthetic chinking over the traditional mortar chinking. Learn more about he advantages and disadvantages of both in our blog post “Chinking and Your Log Cabin”. See can also see some chinking material options here.
-
Applying New Chinking
To apply new chinking, start by cleaning the surface of the logs and removing any oils, urethanes, or other substances that might compromise the product’s ability to adhere. Next, apply any log home stain or finishing products because they can discolor chinking if they’re added later.
Next, fill a caulking gun or grout bag with your product of choice, and apply a bead of chinking evenly over the joint. Before the chinking has an opportunity to dry or settle, use a trowel to press the substance into the joint edges. Make sure the chinking adheres to the entire joint evenly in order to create a complete protective seal.
From assessing the scope of the log home repair problem to removing old chinking to applying a new product, chinking repair is an elaborate process. By following these steps carefully and using quality materials you can rest assured that the repairs you’ve completed are effective in protecting your home.
Click here for a list of tools you may need to complete the job!
The team at 888 Log Guys have over 25 years’ experience in Log Home restorations and are here to help. Contact us today for a quote! When chinking is done properly and with annual maintenance it can last for 20+ years.